My setup
This is a small file to show you what my setup looks like. 😀
Fix the things you repeat everyday. They constitute 50% of your life.
Jordan Peterson
Summary
Section titled “Summary”VS Code
Section titled “VS Code”Fira Code is a free monospaced font containing ligatures for common programming multi-character combinations. This is just a font rendering feature: underlying code remains ASCII-compatible. This helps to read and understand code faster. For some frequent sequences like .. or //, ligatures allow us to correct spacing.
Fira Code
You can download it from here
To use it in VS Code, follow these explanations
TL;DR:
Add this to your VS Code settings.JSON:
"editor.fontFamily": "Fira Code","editor.fontLigatures": true,Bonus: you can setup the same font (and its ligatures) in your Terminal to get the additional goodness. You should do it before running the PowerLevel10k configuration.
Extensions
Section titled “Extensions”All around
Section titled “All around”-
GitHub Copilot
-
IntelliCode
-
Better Comments
-
Code Spell Checker
-
Conventional Commits
-
indent-rainbow
-
Live Server
-
Live Share
-
Path Intellisense
-
Rewrap
-
Biome
-
ESLint
-
Prettier
- Auto Rename Tag
- htmltagwrap
- CSS Peek
- Stylelint
- BabelJavaScript
- JavaScript (ES6) code snippets
- Quokka.js (Pro) + Wallaby.js + Console Ninja
- JS Refactoring Assistant (P42 v3 +)
- Vitest
TypeScript
Section titled “TypeScript”- Pretty TypeScript Errors
Markdown
Section titled “Markdown”- Markdown All in One
- MDX
- (markdownlint)
- REST Client
- npm Intellisense
- Deno
- Bun for Visual Studio Code
- Git Graph
- Git Lens
Customization
Section titled “Customization”- Material Icon Theme
- One Dark Pro
Settings
Section titled “Settings”Here are some VS Code Settings. Only copy the line you understand and want to use.
{ "diffEditor.codeLens": true, "docthis.includeDateTag": true, "docthis.includeDescriptionTag": true, "editor.defaultFormatter": "esbenp.prettier-vscode", "editor.fontFamily": "FiraCode-Retina", "editor.fontLigatures": true, "editor.formatOnPaste": true, "editor.formatOnSave": true, "editor.minimap.enabled": false, "editor.tabSize": 2, "emmet.triggerExpansionOnTab": true, "files.autoSave": "afterDelay", "files.autoSaveDelay": 10000, "git.confirmSync": false, "telemetry.enableCrashReporter": false, "telemetry.enableTelemetry": false, "terminal.external.osxExec": "iTerm.app", "terminal.integrated.cursorStyle": "line", "workbench.colorTheme": "One Dark Pro", "workbench.iconTheme": "material-icon-theme", "auto-rename-tag.activationOnLanguage": ["html", "jsx", "tsx", "xml", "php"], "breadcrumbs.enabled": false, "editor.linkedEditing": true, "editor.suggestSelection": "first", // or recentlyUserByPrefix "explorer.confirmDelete": false, "explorer.confirmDragAndDrop": false, "git.autofetch": true, "javascript.updateImportsOnFileMove.enabled": "always", "json.format.enable": true, "liveshare.authenticationProvider": "GitHub", "oneDarkPro.editorTheme": "oneDarkPro", "prettier.arrowParens": "avoid", "prettier.jsxSingleQuote": true, "prettier.singleQuote": true, "terminal.integrated.fontFamily": "MesloLGS NF", "terminal.integrated.fontSize": 13, "terminal.integrated.macOptionIsMeta": true, "terminal.integrated.sendKeybindingsToShell": true, "terminal.integrated.shell.osx": "/bin/zsh", "workbench.preferredDarkColorTheme": "One Dark Pro", "workbench.sideBar.location": "right", "[json]": { "editor.quickSuggestions": { "strings": true }, "editor.suggest.insertMode": "replace", "gitlens.codeLens.scopes": ["document"] }}For a more thorough setup see the settings.json file.
Package manager
Section titled “Package manager”The Missing Package Manager for macOS
Homebrew
To install brew:
/bin/bash -c "$(curl -fsSL https://raw.githubusercontent.com/Homebrew/install/HEAD/install.sh)"Terminal
Section titled “Terminal”Ghostty is a fast, feature-rich, and cross-platform terminal emulator that uses platform-native UI and GPU acceleration.
Ghostty
To install it using brew: brew install ghostty
Check if you have it by running zsh --version.
If it is not already installed on you system, install it using brew: brew install zsh.
Framework
Section titled “Framework”Oh My Zsh will not make you a 10x developer…but you may feel like one!
Oh My Zsh
An awesome shell with autocompletion, history, alias, plugins, etc.
Install it by running:
sh -c "$(curl -fsSL https://raw.github.com/ohmyzsh/ohmyzsh/master/tools/install.sh)"Plugins
Section titled “Plugins”To install a plugin in ZSH, open your .zshrc file: code ~/.zshrc, or nano ~/.zshrc or open ~/.zshrc.
In this file, locate the line which starts with plugins= and simply write the name of the plugins you want to use.
Then save.
Here is a list of some of the plugins I use:
- alias-tips
- aliases
- bun
- colored-man-pages
- colorize
- command-not-found
- fzf
- git
- history
- vscode
- zoxide
- zsh-autocomplete
- zsh-autosuggestions
- zsh-syntax-highlighting
Powerlevel10k is a theme for Zsh. It emphasizes speed, flexibility and out-of-the-box experience.
PowerLevel10k
Follow the readme to install it and set it up.
TL;DR:
git clone --depth=1 https://github.com/romkatv/powerlevel10k.git ${ZSH_CUSTOM:-$HOME/.oh-my-zsh/custom}/themes/powerlevel10k- Restart
zsh - Then run the interactive configuration:
p10k configure
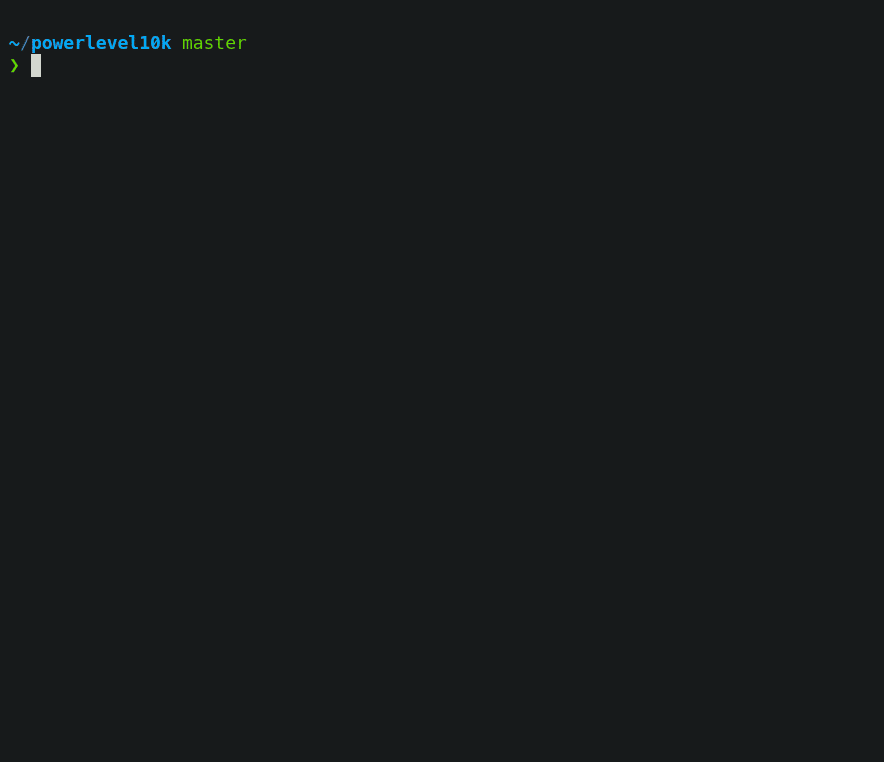
Below is what the interactive configuration looks like:
A good overview of the terminal setup can be found here: HowToGeek
Aliases
Section titled “Aliases”Aliases are shortcuts for other terminal commands.
The simplest way to list all the available aliases on your system
aliasUsually there will be lots of them. You can search for specific aliases using
the pipe operator | and grep.
alias | grep gitHere are the ones I’ve setup:
# Shellalias as="alias | grep "alias c="clear"alias cat="bat"alias cd-="z -"alias cd="z"alias copy="rsync -ah --info=progress2"alias cwd="pwd"alias htop="btop"alias la="eza -laF --git  --icons --group-directories-first"alias ll="eza -lF --git --icons --group-directories-first"alias ls="eza -F --git --icons --group-directories-first"alias lst="eza -lF --git --tree --icons --level=2"alias top="btop"alias trail="<<<${(F)path}"alias z-="z -"alias zz="z -"alias update="brew update && brew upgrade && tldr --update && omz update && mas upgrade && sudo softwareupdate -ia --verbose"
# ZSHalias p10k="code ~/.p10k.zsh"alias zshrc="code ~/.zshrc"
# GITalias gac="git add -A && git commit -m"alias gbr+="git branch --format='%(HEAD) %(color:yellow)%(refname:short)%(color:reset) - %(contents:subject) %(color:green)(%(committerdate:relative)) [%(authorname)]' --sort=-committerdate"alias gca="git commit --amend --no-edit"alias gclean="git remote prune origin && git switch main | git branch --merged | egrep -v '(^\*|master|main|dev)' | xargs git branch -d"alias gco---="git checkout @{-3}"alias gco--="git checkout @{-2}"alias gco-="git checkout -"alias gco-2="gco--"alias gco-3="gco---"alias gcod="git checkout dev"alias gcom="git checkout main"alias gdel="git branch -D"alias gla="git pull --all && git fetch --all"alias glm="glol main..HEAD"alias glol1m="glol --since='1 month ago'"alias glol1w="glol --since='1 week ago'"alias glol1y="glol --since='1 year ago'"alias glolg-="glol --grep="alias glolm="git log --graph --pretty=\"%Cred%h%Creset -%C(auto)%d%Creset %s %Cgreen(%ar) %C(bold blue)<%an>%Creset\" main..HEAD"alias glolsm="glolm --stat"alias gmm="git merge main"alias gmu="git switch main && git pull --all && git fetch --all"alias gpo="git push --set-upstream origin $(git_current_branch)"alias gt="git tag"alias gta="git tag -a"alias gundo="git reset --soft HEAD^"
# Brewalias bbd="brew bundle dump --force --describe --file='~/.dotfiles/Brewfile'"alias bubu="brew update && brew upgrade"
# PNPMalias pm="pnpm"alias pad="pnpm add -d"alias pb="pnpm build"alias pd="pnpm dev"alias pdev="pnpm dev"alias pf="pnpm format"alias pi="pnpm install"alias plf="pnpm lint:fix"alias pln="pnpm lint"alias prm="pnpm remove"alias prun="pnpm run"alias pst="pnpm start"alias pt="pnpm test"
# BUNalias b="bun"alias ba="bun add"alias bad="bun add -d"alias bb="bun run build"alias bdev="bun run dev"alias bf="bun run format"alias bi="bun install"alias blf="bun run lint:fix"alias bln="bun run lint"alias brm="bun remove"alias brun="bun run"alias bst="bun run start"alias bt="bun test"
# Denoalias dd="deno doc"alias df="deno fmt"alias dl="deno lint"alias dr="deno run"alias dta="deno task"alias dt="deno test"alias dtw="deno test --watch"alias dtc="deno task check" # something like "deno lint && deno fmt && deno test --reporter=dot --coverage --parallel"alias dtd="deno task dev" # something like "deno lint --watch & deno fmt --watch & deno run --allow-net --allow-env --allow-read --watch ./path/to/entry.ts"alias dtd="deno task docs" # something like "deno doc --html --name='name-of-my-app' ./path/to/entry.ts"alias dtl="deno task cache" # something like "deno cache --lock=deno.lock --lock-write ./path/to/entry.ts"
See .zshrc file for a more complete description, sources, functions, etc.
Functions
Section titled “Functions”You can also write functions in shell. Here are some of mine:
# Go to directory (`cd`) then list what's in it (`ls`)function cl() {  DIR="$*";    # if no DIR given, go home    if [ $# -lt 1 ]; then      DIR=$HOME;  fi;  builtin cd "${DIR}" && \  # use your preferred ls command    ls}
# You fix the bug, stage only the changes related to the bug and execute# This will create a branch called bugfix based off master with only the bug fixfunction gmove() {  git stash -- $(git diff --staged --name-only) &&  gwip ;  git branch $1 $2 &&  git checkout $1 &&  git stash pop}
# You fix the bug, stage only the changes related to the bug and execute# This will create a branch called bugfix based off master with only the bug fixfunction killport() {  kill -9 $(lsof -t -i:$1)}
# Function to rename a file from Pascal case or snake case to kebab casefunction kebabify() {  # Check if at least one filename is provided as an argument  if [ "$#" -eq 0 ]; then    echo "Usage: pascal_snake_case_to_kebab <filename1> [<filename2> ...]"    return 1  fi
  # Iterate over all provided filenames  for file in "$@"; do    # Convert Pascal case or snake case to kebab case using sed and tr    new_name=$(echo $file | sed -E 's/([a-z0-9])([A-Z])/\1-\2/g; s/_/-/g' | tr '[:upper:]' '[:lower:]')
    # Rename the file    mv "$file" "$new_name"
    echo "File renamed from $file to $new_name"  done}
GitHub
Section titled “GitHub”GitHub Template
Section titled “GitHub Template”In the repo you want to make into a template go to Settings > Options > Settings.
Activate the [ ] Template repository checkbox
GitHub Page
Section titled “GitHub Page”In your new repo go to Settings > Options > GitHub Pages.
Activate it by choosing which branch to publish (ie. main).
Copy the url newly displayed in the GitHub Pages section.
Paste it in the About > Website of your project’s main page (Code).